Installation
Installation with MarlinrakerOS
If you are planning to use Marlinraker on a Raspberry Pi, you can use the prebuilt MarlinrakerOS image. It includes everything you need to run Marlinraker and is the easiest way to get started.
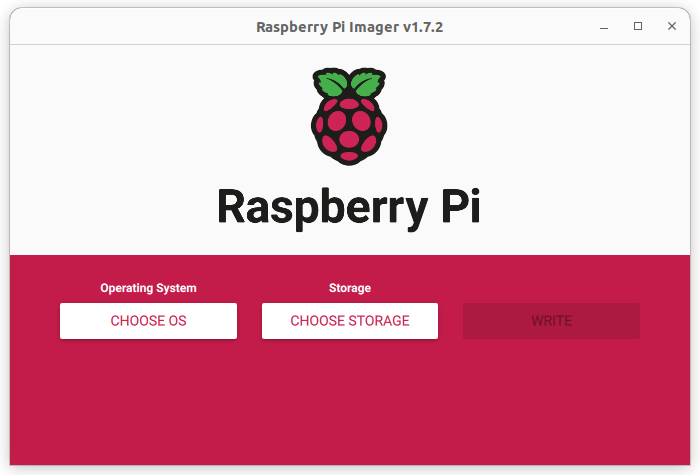
First, download the latest MarlinrakerOS release from GitHub and place the zip file on your computer. Next, download and install the Raspberry Pi Imager. After installing and opening it, you should see following window:
Click on "Choose OS", scroll down to "Use custom" and select the zip file you just downloaded.
Next, click on the settings button in the bottom right. There you can choose a hostname under which Marlinraker will be reachable and a password for your machine.
Finally, connect your SD card to your computer, click on "Choose storage" and select it. Click on "Write" to write the image to your SD card. After writing is finished, you can unplug your SD card from your computer and insert it into your Raspberry Pi. Congratulations, you successfully installed Marlinraker!
Now type in the hostname you entered in Raspberry Pi Imager into your browser.
For example, if your hostname is my-printer, you should go to http://my-printer/.
Now you should see the default Mainsail interface Marlinraker ships with.

From here you can make all adjustments you need, you don't have to SSH into your Raspberry Pi. Make sure to update Marlinraker, your web interface and system packages to the latest version under the "Machine" tab.
After configuring Marlinraker and connecting your printer to the Raspberry Pi with USB you are good to go. Happy printing!
Manual installation
Warning
Manual installation is only recommended for advanced users. This section doesn't include a definitive tutorial on how to manually install Marlinraker, it just roughly explains the steps you need to do to get Marlinraker working.
- Marlinraker needs Node.js to run. Make sure to have at least Node.js 16 installed.
- Download the latest
release of Marlinraker and unzip it to your desired location. Note that the
marlinraker_filesdirectory will be located next to the directory the files are unzipped to. - Set up a system service that runs Marlinraker with
npm run startin your Marlinraker directory. See here for an example. - Set up a web server that serves the
marlinraker_files/wwwdirectory and forwards the API endpoints to the port that Marlinraker runs on (7125by default). See here for an example using Nginx. - Create update scripts to make use of Marlinraker's integrated update manager. See here for examples. If Marlinraker is running on linux, make sure your user has sudo rights and is not password prompted for when using sudo.